Trading education
Breakout Trading Guide: Structure, Confirmation, Risk, and Review
Breakout trading focuses on expansion beyond a defined area of support, resistance, or consolidation. The opportunity is straightforward to describe, but consistent execution requires clear definitions for structure, confirmation, invalidation, risk, and review.
Quick answer
Quick answer to breakout trading guide
A robust breakout process starts with pre-defined structure, then checks confirmation, defines invalidation, sizes risk, and reviews the outcome against the original rules. The goal is not to eliminate failed breakouts but to make accepted and rejected setups explainable before they happen.
Key takeaways
- Structure comes before the signal.
- Confirmation is strongest when trend, participation, and volatility contribute independent information.
- A setup is incomplete until invalidation and risk are defined.
Begin with structure, not the signal
A breakout needs a level. That level may be a confirmed swing, a consolidation boundary, a session range, or a broader support and resistance zone. If the structure is vague, the meaning of the breakout will also be vague. Mark the level before price crosses it so hindsight does not redefine the setup.
Consider the broader regime at the same time. A bullish breakout aligned with an established uptrend has different context from a bullish breakout directly into higher-timeframe resistance. Neither is guaranteed to work, but they should not be treated as identical trades.
Use independent confirmation
Confirmation is most useful when each input answers a different question. Trend describes direction. Volume describes participation. Momentum describes acceleration. Volatility shows whether the market is expanding or compressed. Higher-timeframe context shows whether the move has broader support.
Avoid counting several versions of the same calculation as separate evidence. Three momentum oscillators can create the appearance of confluence while measuring similar information. A smaller, diverse filter set is easier to understand and test.
- Trend and cloud alignment
- Clear close beyond confirmed structure
- Volume or participation confirmation
- Momentum and volatility expansion
- Room before the next opposing level
Define invalidation before entry
A setup is incomplete until you know what would prove the idea wrong. Invalidation might be a return inside the prior range, a loss of the breakout level, a cloud regime change, or a predefined volatility stop. The choice must fit the timeframe and the way the signal was generated.
Position size should come from the distance to invalidation and the amount of account risk you are willing to accept, not from confidence in the indicator. A high Quality score can still produce a losing trade. Consistent risk prevents one failed breakout from dominating the entire process.
This material is educational and does not provide individualized financial advice or a recommendation to trade.
Review the process, not one outcome
Track the market, timeframe, regime, structure type, enabled filters, signal score, entry method, invalidation, and target logic. Review groups of comparable setups rather than judging the framework after one win or loss.
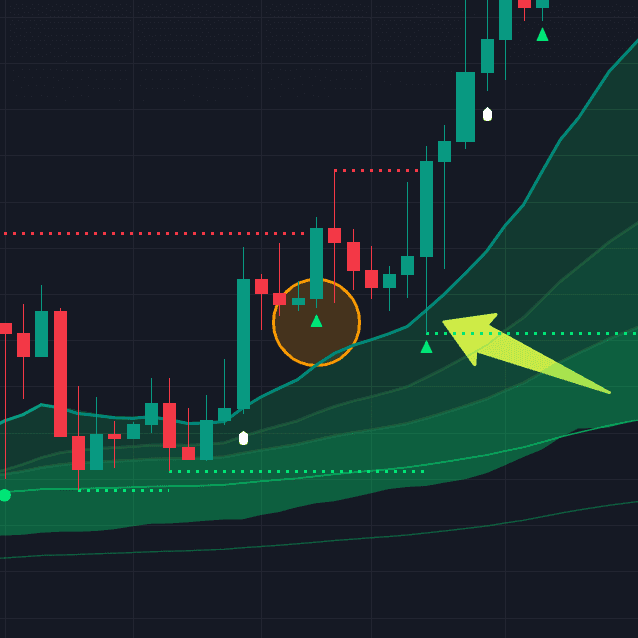
B:PRO supports this process by keeping structure, filters, scores, event markers, and future target lines in one TradingView workflow. The tool can make the checklist faster, but the trader must still decide which setups belong in the plan.
Frequently asked questions
Which timeframe is best for breakout trading?
There is no universal best timeframe. Faster charts create more signals and noise, while higher timeframes generally develop more slowly. Test the timeframe that matches your availability and risk plan.
Should I enter immediately when price crosses resistance?
That depends on the tested rules. Some traders require a candle close, volume confirmation, or a retest. Define the rule before the setup occurs.
How do alerts help breakout traders?
Alerts can notify the trader when defined conditions occur, reducing screen time while preserving a consistent review process.
Sources & further reading
Primary references
References support platform mechanics, market structure definitions, or product documentation. They do not imply performance guarantees or endorsements.
Continue your research